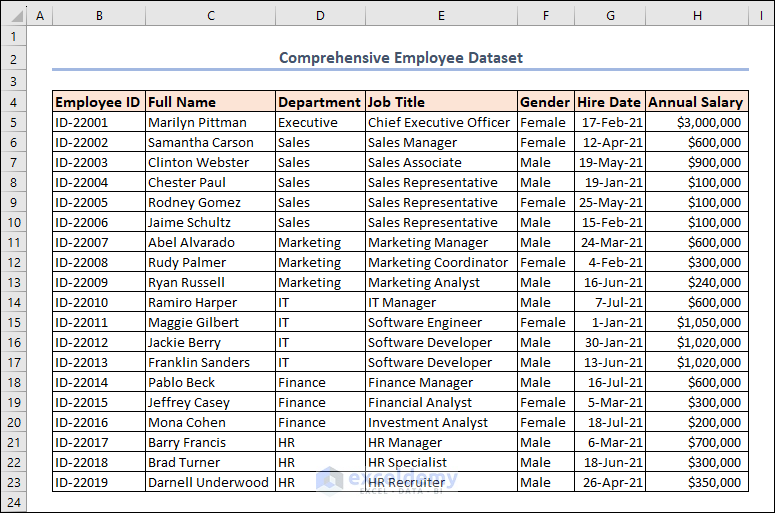
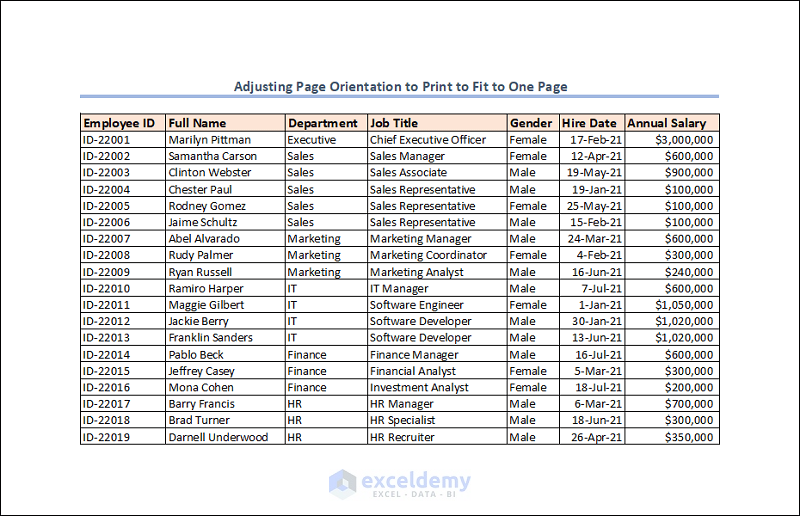
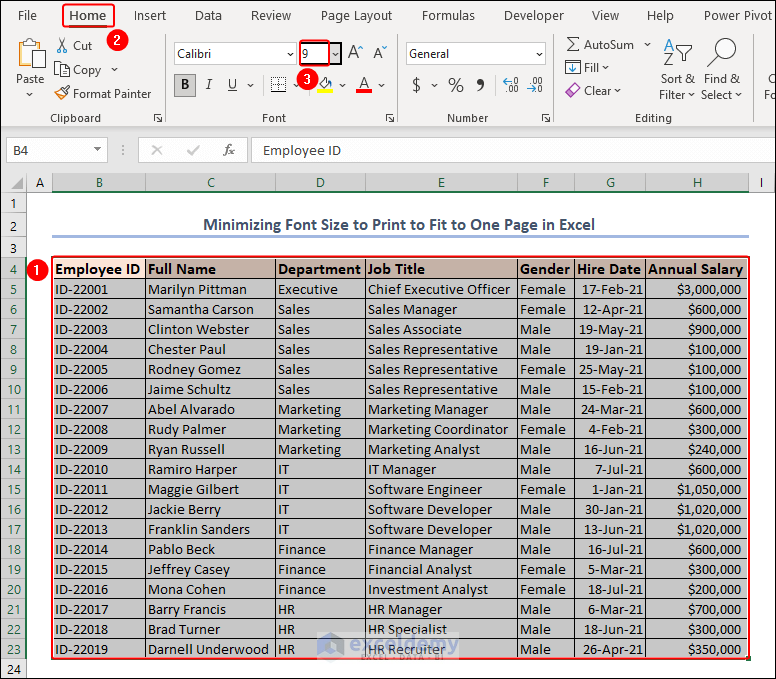
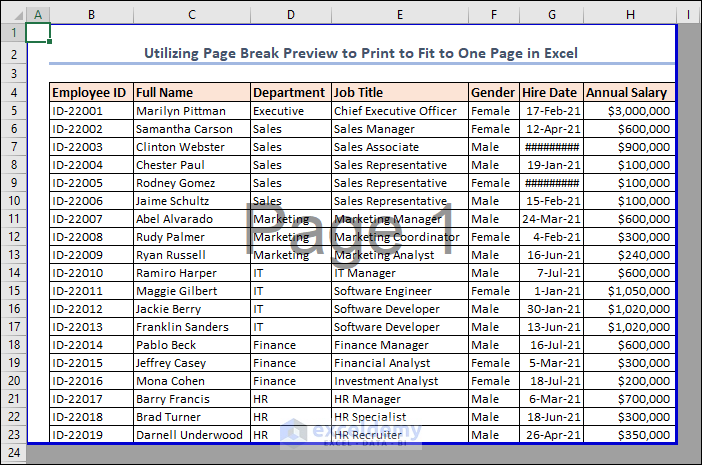
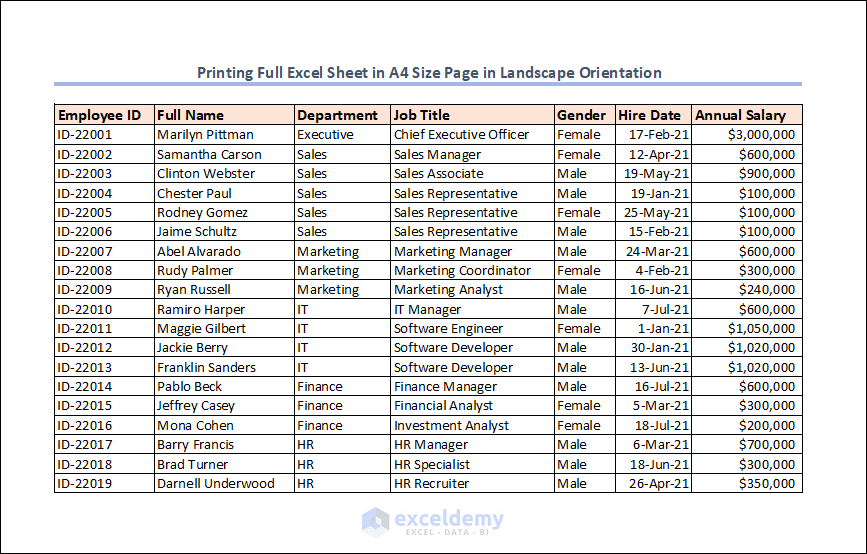
To achieve this, we’ll work with a Comprehensive Employee Dataset that includes columns for Employee ID, Full Name, Department, Job Title, Gender, Hire Date, and Annual Salary (located in columns B to H).
Note: Keep in mind that while we’re using a basic dataset here, real-world scenarios may involve larger and more complex data.
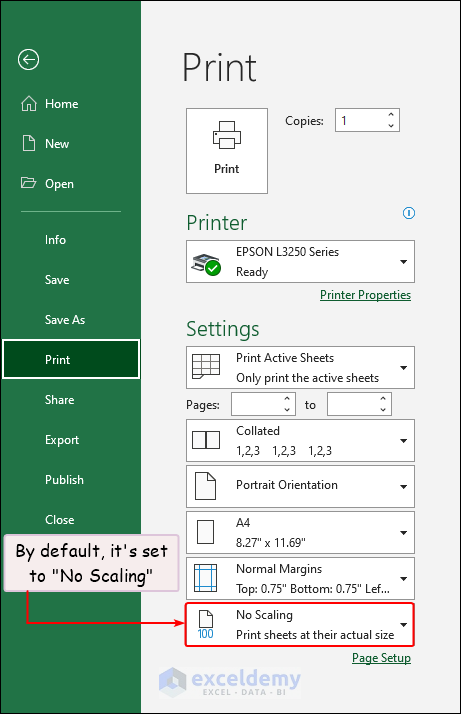
![]()
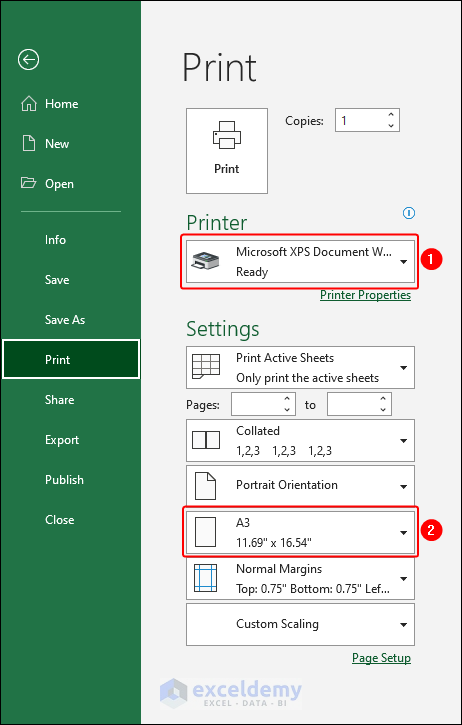
This opens the Page Setup dialog box.
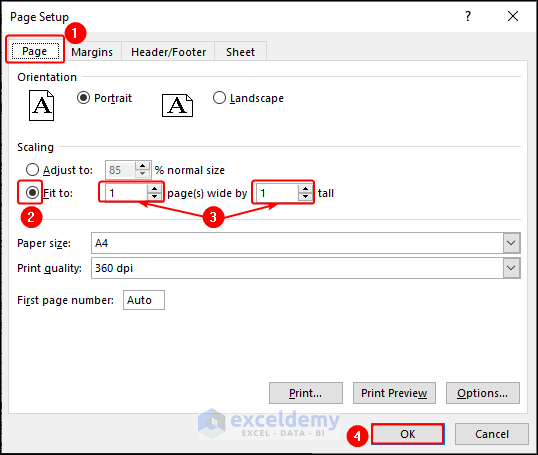
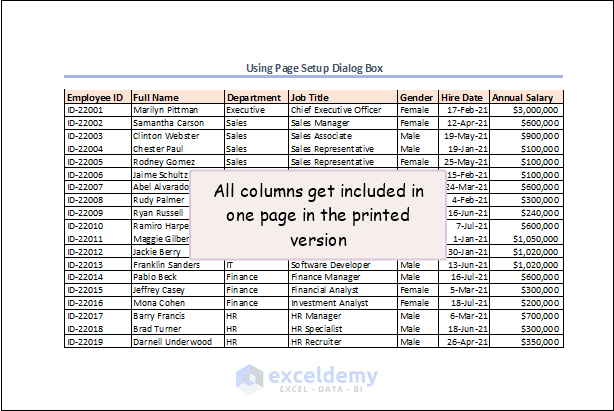
This method ensures that your data fits within a single printed page in Excel.
Note: Be aware that this approach may reduce the visual scale of your information, as Excel compresses content to fit.
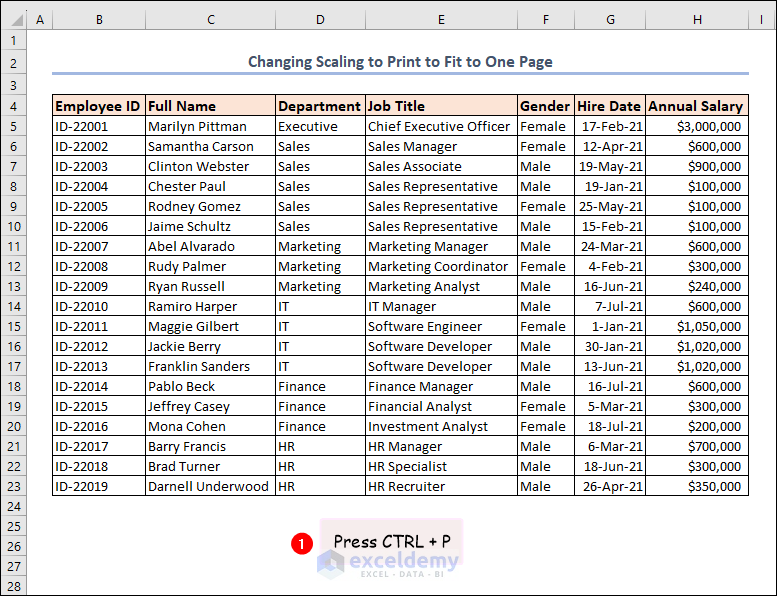
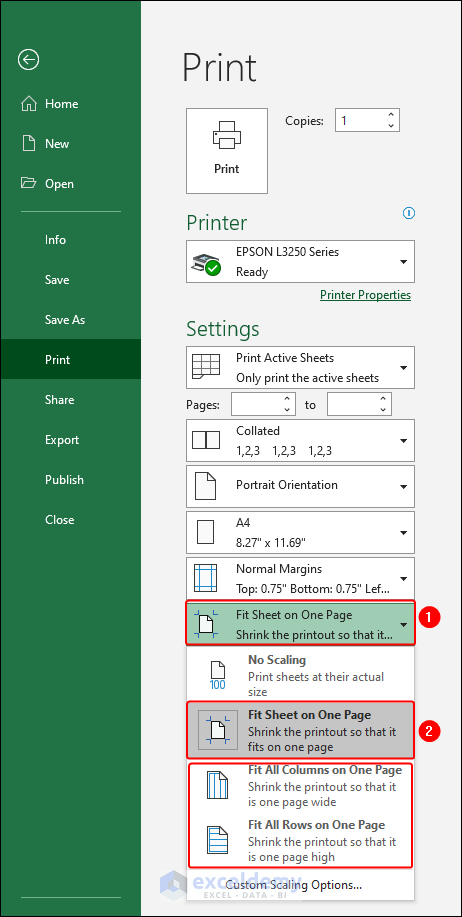
This method achieves the same result as the previous one—fitting your worksheet onto a single printed page.
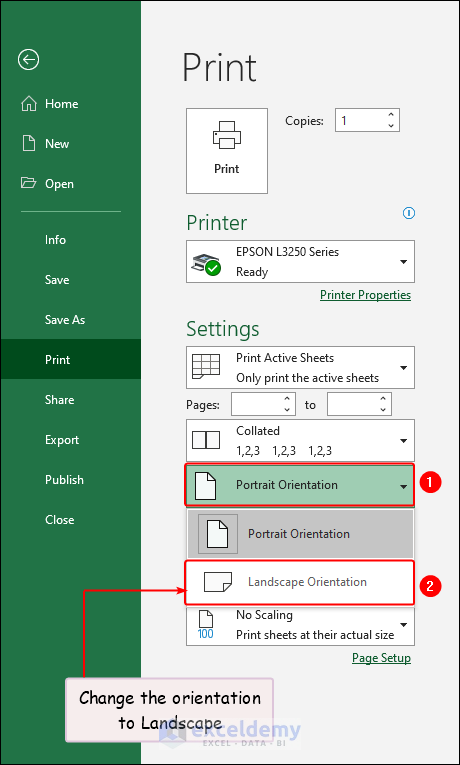
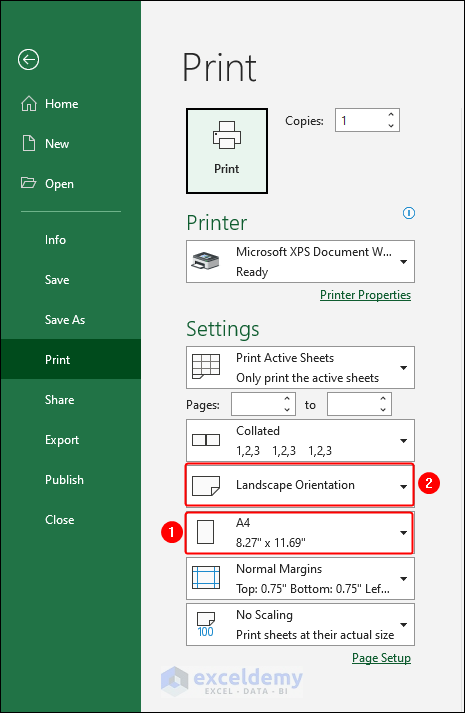
Choose the orientation based on your dataset to ensure optimal printing.
Note: Portrait is the default orientation in Excel, while Landscape allows for more columns than rows.
Excel will consolidate all the data onto a single page during printing.
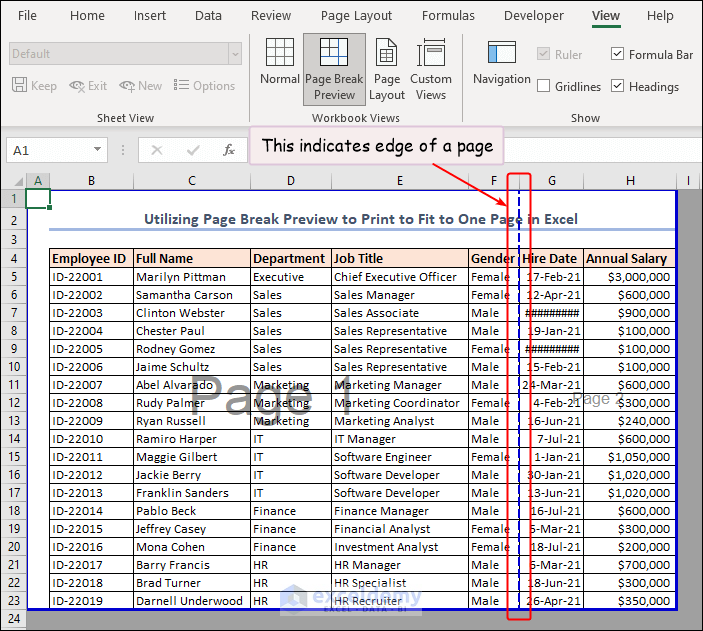
When printing an Excel spreadsheet, there’s typically white space at the page boundaries, ensuring a visually pleasing layout. However, with large worksheets, additional columns might spill onto a new page, along with extra rows.
To fit the entire worksheet on a single page, make slight adjustments to the page margins:
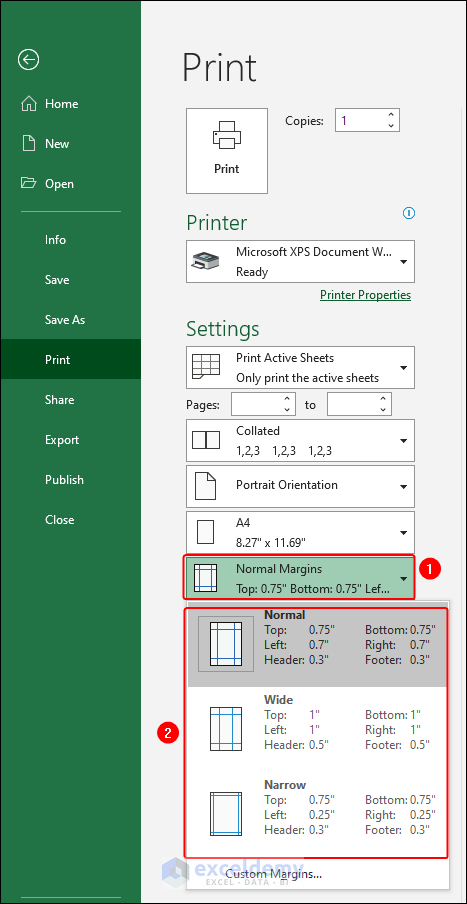
Excel automatically adjusts the spreadsheet to fit on one page during printing.
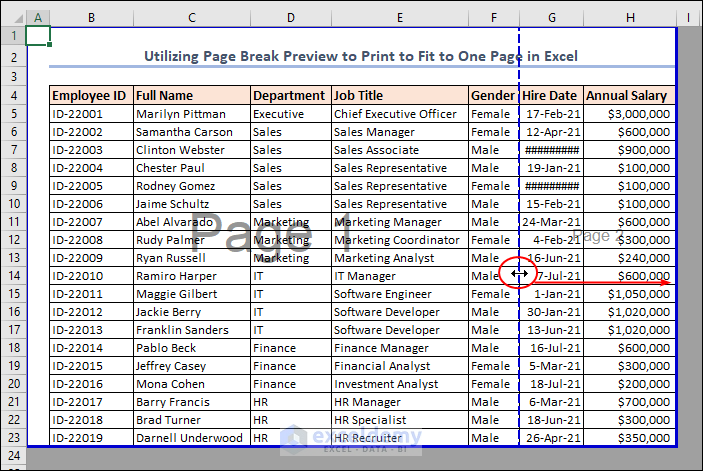
Sometimes, columns are wider than necessary. To optimize space and fit everything on one page:

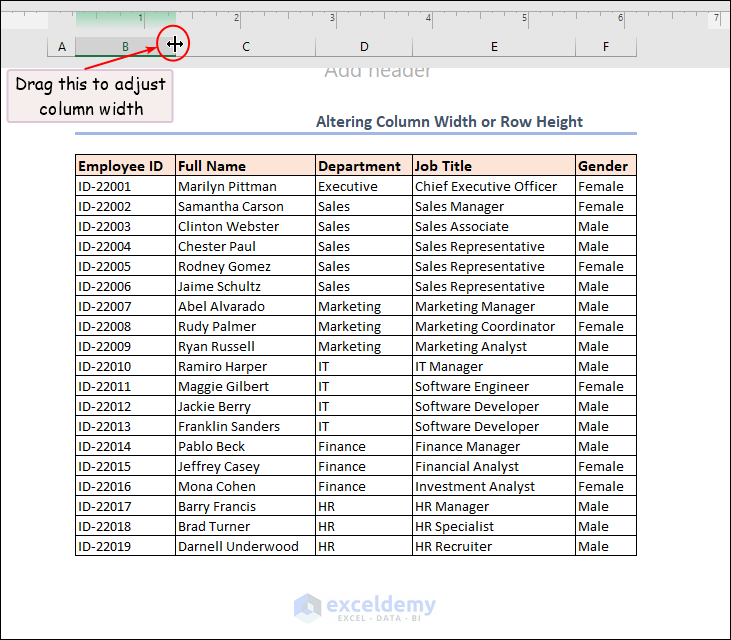
Keep in mind that adjusting row or column sizes may condense data, so consider using Text Wrapping in Excel to address visibility issues.
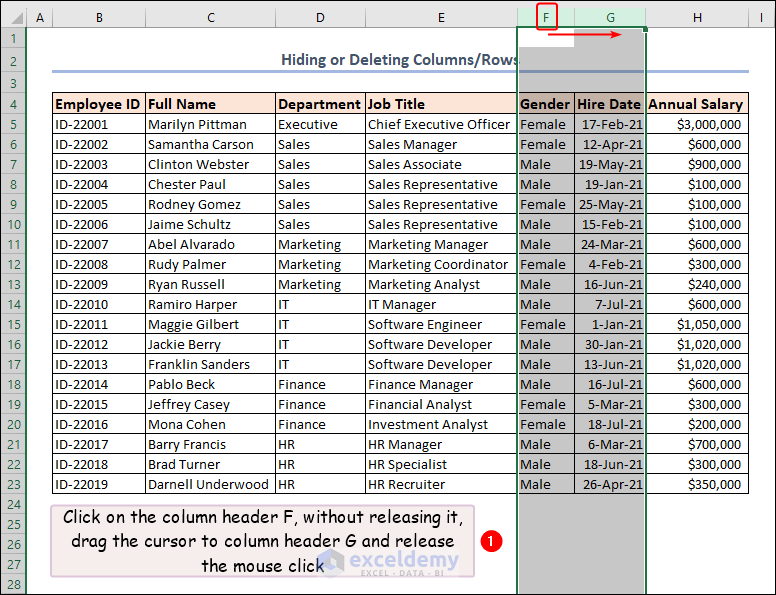
To achieve a one-page fit for your worksheet, selectively hide unwanted columns or rows:
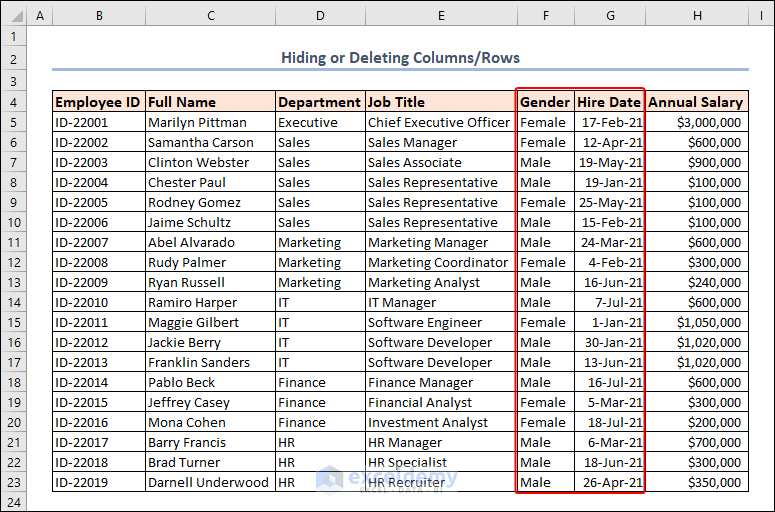
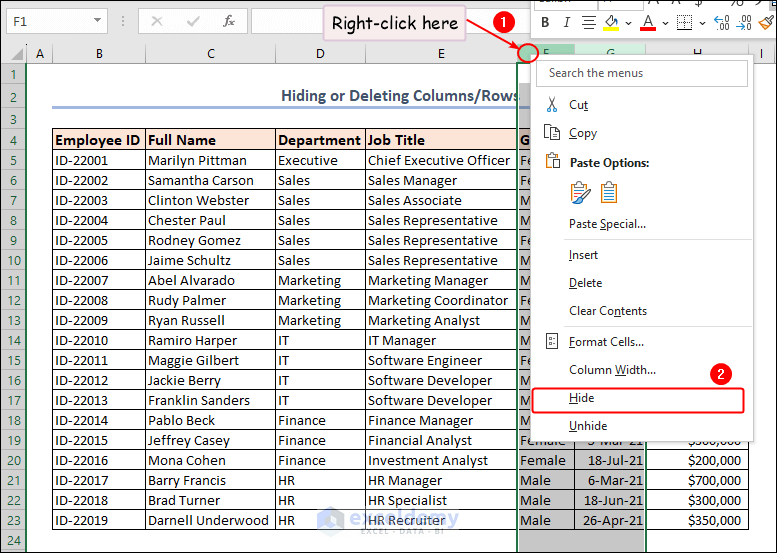
These columns will be hidden.
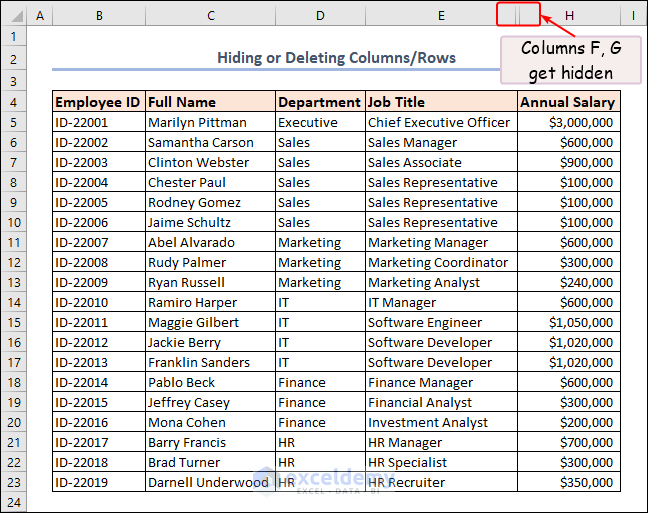
You can unhide them later to display your complete dataset.
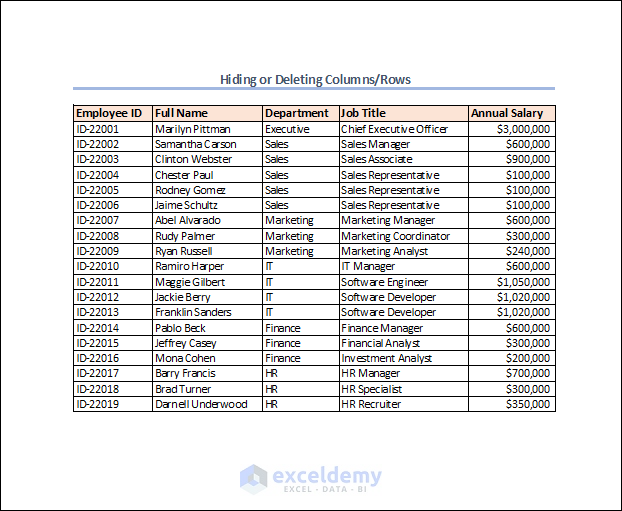
Resize specific columns by minimizing font size:
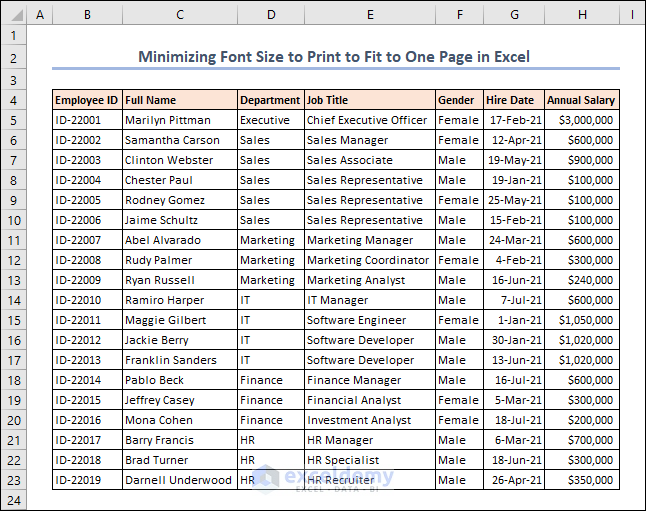

Now, the entire sheet is considered one page during printing.
VBA macros offer a smart alternative to achieve one-page printing in Excel. Follow these steps:
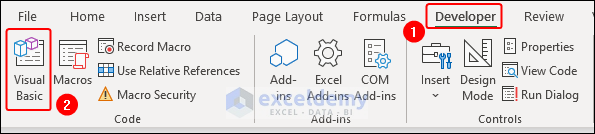
This opens the VBA window.
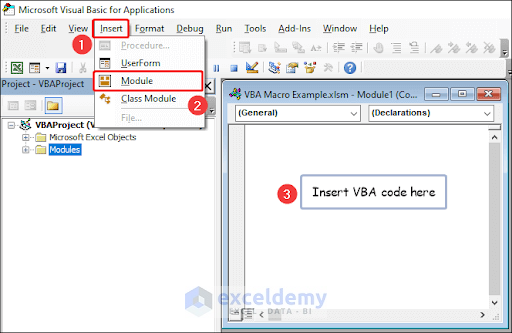
Sub fit_to_page() Dim ws1 As Worksheet Set ws1 = ActiveSheet With ws1.PageSetup .Orientation = xlPortrait .Zoom = False .FitToPagesTall = 1 .FitToPagesWide = 1 .PrintArea = "B2:H23" End With End SubThis code ensures that your data fits within a single printed page.

The automation saves time and consistently produces professional-looking printouts.
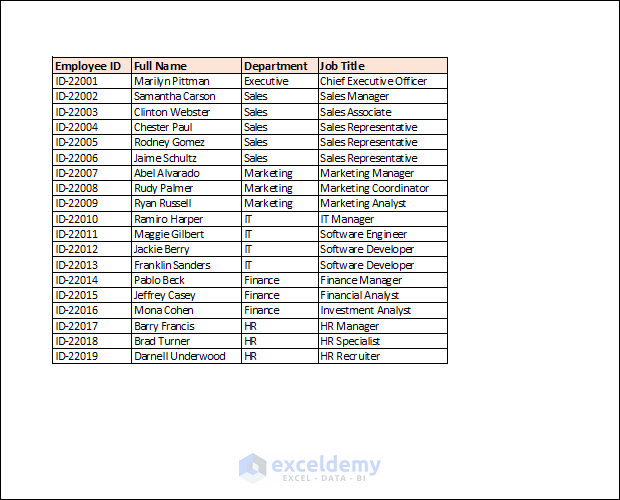
This generates an aesthetically pleasing and print-ready output.
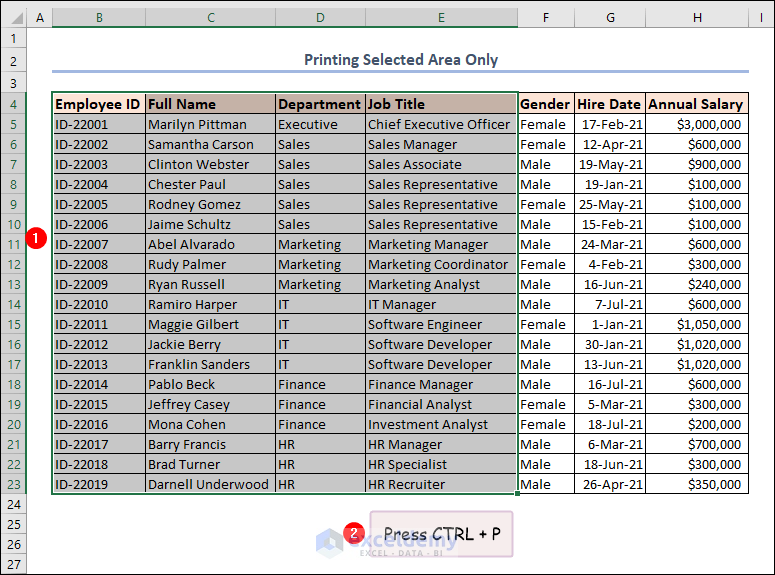
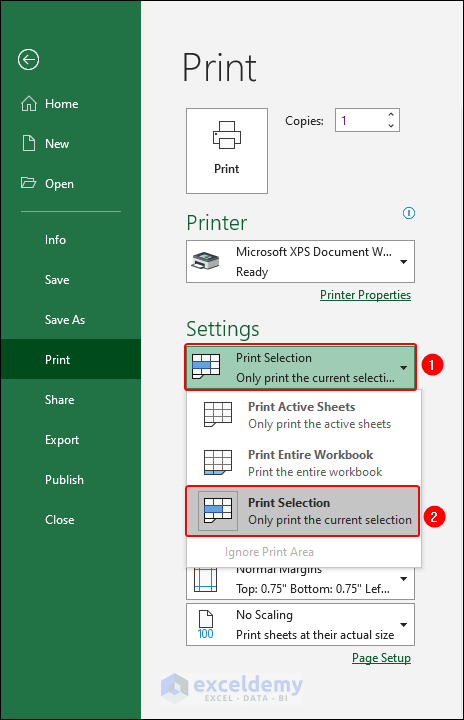
When you print, only the selected portion will be included in the hard copy.
You can download the practice workbook from here: